Combating Cable Splay
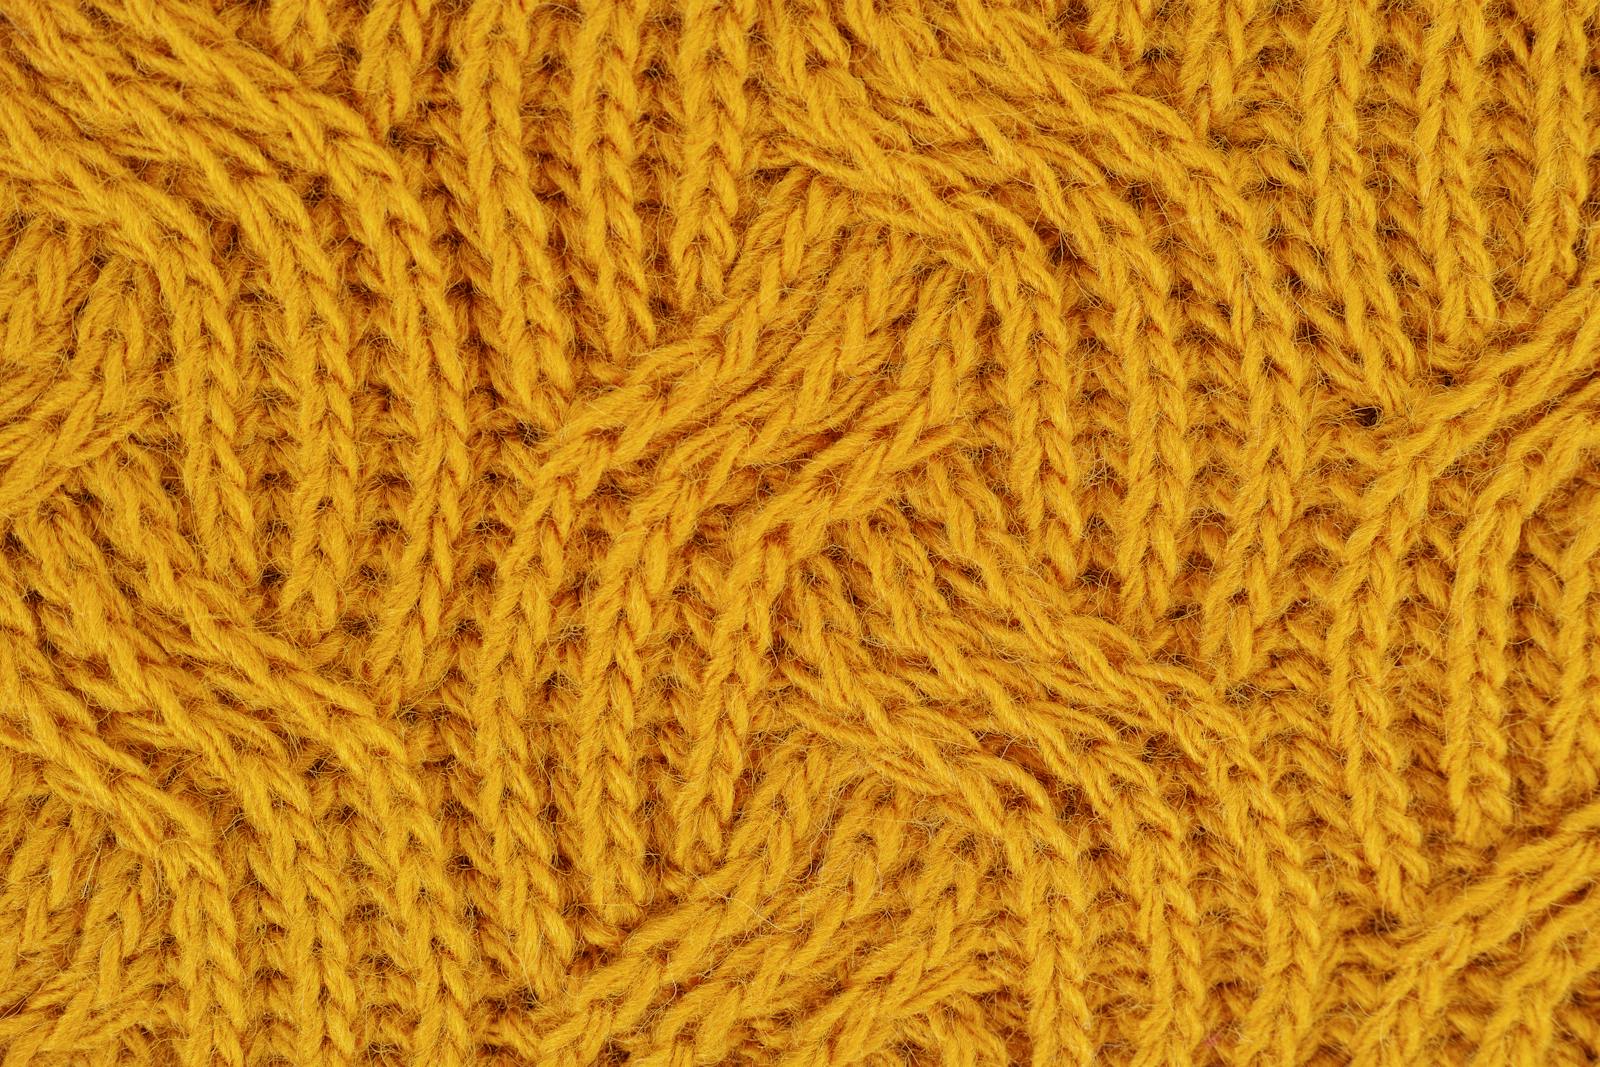
Aside from garter and stockinette, cable knitting might be as basic as it gets. Cables add a sense of depth to the look of garments and accessories; they can also be used to dress up a simple ribbing. While a cable pattern can look very complicated, once you’ve practiced the technique you’re usually good to go: follow the chart carefully and you will enjoy a beautiful finished project. Sounds too good to be true? It’s not – unless you find yourself dealing with the dreaded “cable splay” or “cable flare.”
When you knit a cable, you are essentially taking a row of live stitches and knitting them in a different order. Think about a simple four-stitch cable: you put two stitches on a cable needle and wait to knit them until after the two stitches that follow. This causes the fabric to twist or cable. If you look carefully at what you’ve done, you will see that the cable row is tighter than the one before or after; that’s because the twist pulls the yarn closer together. Patterns that use cables will generally show two different gauges for this very reason. If you take the time to make both gauge swatches, you will see the difference. When you go to knit the pattern, you will generally find that you don’t start the cable on the first row of the stitch pattern; instead, you’ll begin just a row or two before the first cable.
When you’re knitting up something that you’ve designed yourself, there’s no one to tell you to do this. When you knit a cable directly from the pattern in a stitch dictionary, you’re going to notice that the difference in gauge between the cable row and the other rows causes the fabric to buckle. The top and bottom of the cable will flare out, and there may be ruffling at the edges that distorts the look of the garment. This is of course caused by the two different gauges coming into play. Fortunately, you can then take steps to avoid the problem.
If you’re making a garment or accessory that uses cabling as part of the rib, you’re going to want to place the first cable crossing within a row or two of your cast on. This pulls the bottom in to the cable crossing gauge; the rib rows will splay out, but they will then be drawn back in at the next cable row. Using the above simple four-stitch cable example, you would find the basic directions to reveal three rows of k4, p4, with a final row of “cable 2 back, purl 2.” To avoid the splay, you would start knitting this cable at row 3; the half-repeat will keep the bottom from splaying out.
If you are using a ribbing at the bottom of your piece, you’re working with three gauges: the ribbing gauge, the cable row gauge, and the gauge for the non-cabled rows. You might need to drop the needle size for the ribbing to draw in the way it’s supposed to. If this doesn’t help, you might want to reduce the number of stitches in the ribbing; the actual amount is going to be a matter of trial and error depending on your gauge and the intricacy of the cable pattern you are using.
As a final tip: hopefully you can see why gauge swatches are so important when you incorporate cables into your knitting. If you find this annoying, consider knitting not one, but two longish swatches that measure the same as the circumference of your wrists. Sew up the long edge, leaving holes for your thumb. You’re not “wasting time on a gauge swatch”; you’re beginning the project by making wristers to match your sweater!

Related Articles
Editor's Picks Articles
Top Ten Articles
Previous Features
Site Map
Content copyright © 2023 by Korie Beth Brown, Ph.D.. All rights reserved.
This content was written by Korie Beth Brown, Ph.D.. If you wish to use this content in any manner, you need written permission. Contact Korie Beth Brown, Ph.D. for details.


